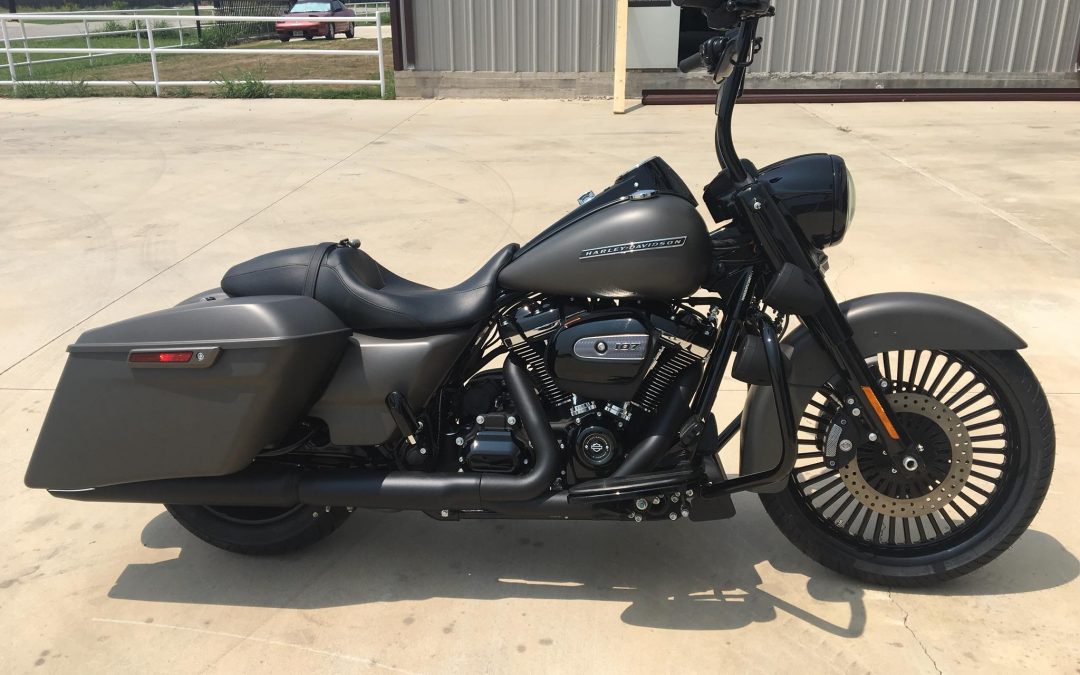
Here is an easy DIY Harley 21″ front wheel conversion tutorial that won’t break the bank. Follow step-by-step if you’re a do-it-yourselfer looking to upgrade the look and ride of your Harley-Davidson.
Let’s face it. Shop prices can be a real downer. One simple upgrade you can do at home is a 21″ front wheel conversion on your Harley Touring motorcycle. You’ll love how it transforms the appearance and stability of your ride.
Getting Started with Your 21″ Harley Wheel Conversion
To get started with your motorcycle wheel upgrade, you’ll want to stabilize the bike and get the front wheel in the air. The best way to do that is with a regular ATV/motorcycle lift. Not sure where you can get one? You can usually find this type of lift at a local tool store.
Once you have the Harley on the lift, make sure you secure to the lift with a tie-down. After the front wheel comes off, the balance will change. If you haven’t properly secured the motorcycle, this change will tip it back off of the lift.
Removing the Calipers
Once the wheel is up in the air, you will remove the two caliper mounting bolts that hold each caliper to the bottom fork slider. Be sure not to let the calipers dangle by the brake lines. I suggest using a bungee cord or a long zip tie to tie them up and take any pressure off the brake lines. A stash of Crown Royal bags comes in handy here. A Harley caliper fits in the felt bag nicely and won’t scratch the fender if it gets accidentally rubbed up against it.
Prevent Brake Line Damage, Remove the Axle Nut
Now that the calipers are removed and secured to prevent any brake line damage, remove the axle nut. Once the axle nut is off on the left side of the axle, you’ll have to loosen the pinch bolt or cap from the right side, depending on what year your bike is.
On a 2014 and newer bike, Harley uses an Allen bolt to pinch the right-side fork slider around the axle.
For a Harley that’s 2013 or older, a cap and two nuts with half-inch heads are used to secure that side of the axle.
The Next Step in Your Touring 21-inch Front Wheel Conversion – Sliding the Axle Out
Now that the axle nut and cap or pinch bolt are removed, you can slide the axle out. Keep in mind that the whole wheel assembly’s weight is on the axle when your wheel is up in the air. To alleviate this weight issue, you can use your lift to lower the front wheel down just enough to take the load off of the wheel. The axle will slide out pretty quickly so long as the last guy that put it in used anti-seize on your axle.
I’ve found that not all lifts will allow you to lower the wheel like this. If yours isn’t one that will allow this, that’s okay. An alternative is a 2×4 or a pry bar as a lever under the tire that will be able to lift the weight of the wheel off the axle and allow for easy removal.
Remove the Wheel
With the axle now removed, the original wheel should come down out of the forks without much effort. Since the Harley wheel is on the ground you may have to lift the motorcycle up, using the bike lift, to roll the tire out from under the fender.

Finish Your 21” Wheel Upgrade by Installing the New One
Now, we typically raise the existing front fender to give the new wheel clearance to roll on the Harley-Davidson. Remember, it’s important to have proper clearance during this conversion, or you’re going to damage your brand-new 21″ front wheel.
Drill the Mounting Holes for Clearance
On 2000-2013 models, you can often get away with drilling out the mounting holes on the fender. Drill them to the next drill size up.
Once the holes are enlarged, you can reinstall the fender, leaving the fasteners loose. When you torque down the fender mounting bolts, push up on the inside of the fender as you torque them down to make your fender will be up high enough to clear the tire.
While you’re in there, take a look at any wiring for the tip light if you have one. Harley had a recall on the wiring harness. Originally, there weren’t enough clips to hold the wires to the fender, causing issues with tires rubbing on the wires. Better to solve a problem before it rears its head!
When You Don’t Have Proper Fender Clearance
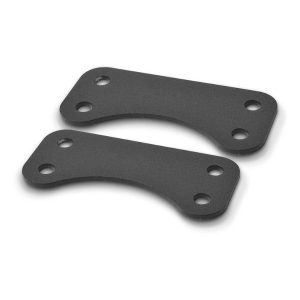
If the above front wheel process does not give you proper clearance, you will need to use a 21-inch fender lift or purchase a new 21-inch fender.
The 2014-2020 Harley Touring models all need the 21” fender lift to make the wheel fit properly. The installation of the bracket isn’t complicated. To install it, you’ll mount the bracket to the OEM fender mount using the bottom holes in the bracket. Then use the top holes to mount it to the stock fender.
Installing the New 21-inch Harley Wheel
Once your fender has proper clearance, you’ll reinstall the front wheel in reverse order for this conversion. First, place the Harley wheel in place and slide the axle through the fork legs and wheel hub. Be sure to refer to your owner’s manual or service manual for proper torque specs on all of the fasteners you are reinstalling.
You will follow the service manual instructions for properly torquing your front axle nut. Then, put the pinch bolt or cap on the right-side fork slider and secure it. If your front end has the pinch bolt instead of the cap, this would be the time to torque that as well. Next, you will put on your calipers. Make sure you use new brake pads if you are using new rotors.
Once your calipers are torqued back down, give the wheel a spin and make sure it’s spinning smoothly. While the wheel is spinning, test your front brakes. They should be stopping the wheel from spinning. If you forget to pump up the brake lever here, you may end up doing it in a hurry when trying to stop for real! No one wants to back down a lift or take a test ride and not be able to stop. Don’t forget to pump your brake lever before lowering the bike down.
Congratulations! You’ve officially put a new front wheel on your 2000-2020 touring Harley motorcycle without paying a shop a dime!
PRO TIP: if you can take a wheel off and put it back on, you’ll save money on tire changes by bringing the shop a rim instead of the whole bike.
Ride safe out there, and if you want to Ride with the Best, SMT Wheels is the only way to go!